Vaping is one of the many products available to support smokers in finding a less harmful alternative to tobacco and traditional cigarettes.
One of the main additional benefits of vaping instead of smoking is the lower cost, which can see ex-smokers saving up to £1,971 a year if they make the switch.* Find out how much you could save by using the Dinner Lady Savings Calculator.
There are still some expenses involved with vaping, however, including the cost of device consumables such as e-liquids and coils. The costs associated with device consumables increases significantly when your vape coils keep burning out, causing you to need replacements much more often.
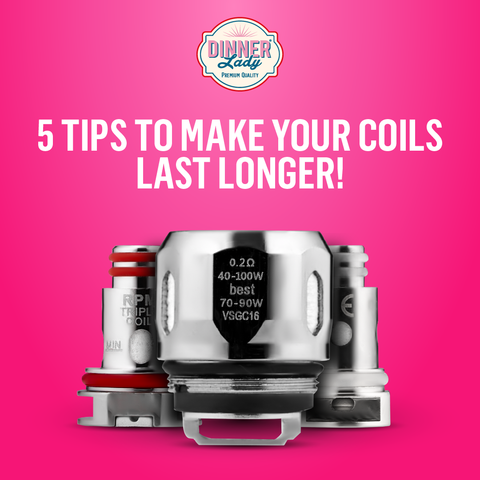
Not to worry though, there are several ways to to keep your coils in pristine condition for as long as is physically possible.
1. PRIIME YOUR COILS
When you first install a new coil, it's important to completely soak the wick with e-liquid. Although priming isn't strictly necessary if you are willing to wait long enough, priming is the best way to make sure your wick is completely soaked before taking your first inhale.
Priming your coil involves manually soaking the wick before installation. Priming your coils is easy when you know how.
Find the juice holes on the coil's head – this is where the wicking material comes into contact with e-liquids. Simply drop several droplets of e-liquid onto the coil until the coil will not hold any more liquid. At this point, you will know the wicking material is appropriately saturated.
Once complete, add the coil to your device. To make sure your wick is completely saturated, you could draw from your vape kit without pressing the button. Be careful not to do this too much though, as it could have the opposite effect and flood your coil.
It is best to vape on a lower wattage for your first few vapes, then increase as necessary.
Did you know? Many modern vape kits are now equipped with auto-priming technology to automatically prime your coil.
2. USE HIGH-QUALITY E-LIQUIDS
Budget e-liquids typically contain large amounts of sweeteners and are well known for damaging coils – the sugary sweeteners caramelize and destroy vape kit components such as coils. These coils become clogged up with e-liquids which wear out the wicks, causing them to struggle to soak up new juice.
Although many premium brands use sweeteners in their e-liquid flavourings, it tends to be a much lower amount than is found in those of budget brands. High-quality e-liquids contain premium ingredients that are less damaging to your coils.
3. REGULARLY CLEAN YOUR COILS
Coils should be cleaned regularly to wash away the build-up of e-liquids.
Coils can be cleaned with vodka, vinegar or plain, old-fashioned warm water. No matter your choice, soak your coils overnight to break up any remaining e-liquid residue on your coils.
Simply remove the coil, rinse it under warm running water to remove as much e-liquid residue as possible. If your coils still seem a little blocked up, soak your coils overnight in vodka, vinegar or plain, old-fashioned warm water to break up any residue that remains.
Leave the coil to air dry on an absorbent kitchen towel and allow it to dry thoroughly before re-inserting into your device.
It is worth noting, though, that it is only recommended to soak coils once or twice before replacing due to the wicks becoming less potent to absorbing e-liquids. Furthermore, if your coil is already burnt, cleaning may not be enough to cleanse the coil, and you may need to opt for a replacement.
4. USE E-LIQUIDS WITH A HIGHER PG CONTENT
E-liquids with a high VG content are often derived from vegetable oil which has a thick consistency that can clog coils.
While high VG juices are great for sub-ohm, direct-to-lung (DTL) vaping, 50:50s and Nic Salts are much better options for coil longevity. PG is a much thinner consistency and does not affect vape coils in the same way as a high VG e-liquid.
5. KEEP YOUR TANK FILLED
Letting your tank empty is a bit like driving a car with no oil – the engine will eventually seize, causing significant damage.
If you do not have enough e-liquid left, your wick is going to start vaporizing thin air, causing a ghastly burnt flavour. Thankfully, many tanks have a minimum level indicator to guide you when vaping. We would recommend keeping your vape kit reservoir topped up to at least this fill line to reduce the chances of a dry hit.
By following these five simple tips, you can save money on constantly changing your coils. Although you can't fix a burnt vape coil, you can prevent your coils from burning out by maintaining and priming your coils.
Still not sure why your vape coils burn out so fast? Find out more with Dinner Lady’s coil FAQ.
*Calculation based on a packet of 20 cigarettes costing £10.80 and the average cigarette smoker smoking 10 cigarettes per day.


